In the Beginning
When I was a kid I got an Aria Pro II XR Series Electric guitar as a gift from my parents. The mists of time prevent me from recalling if it was for my birthday or Christmas or some combination of the two, but I’m fairly certain that it was 1989.

I played the heck out of that guitar for many years, and it has moved with me everywhere I’ve gone. After our first daughter was born, I didn’t play very much at all and it languished until recently. I got back into playing a few years ago, and longed for a new guitar. I finally got that new guitar and passed on the Aria Pro to my older daughter. She liked it, but said that she’d like to have a blue guitar. That was exactly what I wanted to hear! I’d been contemplating modding a guitar for ages, and this was the perfect excuse to try it out. We decided to refinish it, upgrade some of the hardware, and maybe even audition some different pickups. Before tearing it apart, I thought I’d take some commemorative photos!


Step 1: Disassembly
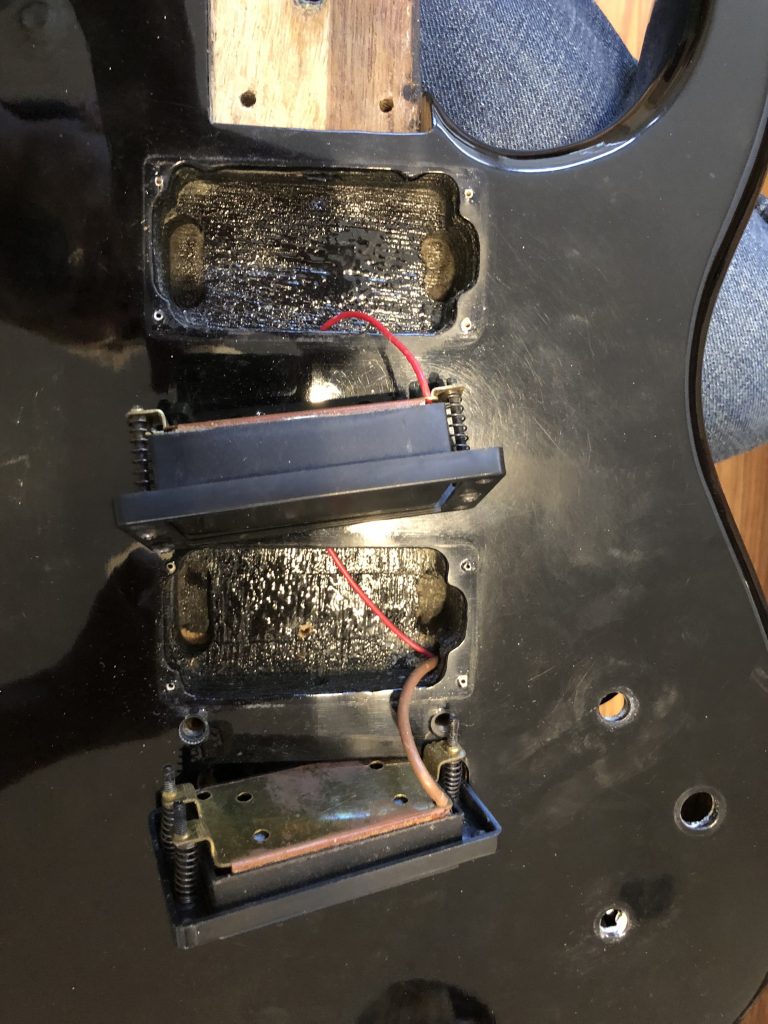
To refinish the body, we needed to remove all the electronics, plastic covers, hardware and the neck. This was the easy part!


Step 2: Remove the finish
After reading a few different posts about refinishing late ’80s Korean guitars, I decided it’s probably safe to try the heatgun + paint scraper technique. I had no idea what to expect, but read several posts indicating that this vintage of low-cost guitars would likely have a laminate body. I was hoping that there would at least be some semblance of an interesting grain to the revealed surface. There’s only one way to find out, I suppose!

As it turns out, there was a thick coat of finish on top of the wood, then a layer of paint, and then a protective layer over the paint. Removing all of this revealed a somewhat porous laminate beneath. The layers of the laminate are about 1/16″ thick each, and actually revealed a very interesting pattern at the contours of the body. The top layer itself wasn’t particularly interesting, but that’s okay, since the laser-etched images should give it some visual interest.


Once the finish was completely removed, I set to work with the random orbital sander to get a nice smooth finish. I ended up with 300grit or so, and that gave a nice, almost glassy smooth sheen to the wood. I was able to remove much of the scorch marks caused by incautious use of the heatgun.

Step 3: Frickin’ Lasers
Not content with a plain design, I asked my daughter if she wanted to put any custom designs on the guitar. Of course she did! So she set about drawing a few things she wanted on the guitar. She said sloths and cats had to be involved. In our search for ideas, we came upon an adorable image of a sloth hugging a cat, and she had to have it. She then drew her own sloth and a cat from her favorite book series at the time, Warriors.

After drawing them up, we scanned the images and tested them on some scrap material to make sure we liked the results


Step 4: The Headstock
I wanted to really personalize the guitar, so I decided we should “rebrand” it. First, I sanded off enough of the finish to remove the paint and the logo.

I then took the Epiphone logo and played around with it in the Gimp and came up with this:

And applied it via a waterslide decal

Step 5: Re-finish
One of the goals of this project was to have a nice finish that was easy to apply and didn’t require a lot of equipment. I opted for tung oil, as I like the look and feel of the oil finish, and it can be applied by hand with good results. As for the new color, we originally chose a deeper blue, but found that it was too dark and didn’t seem to want to stick to the wood. We removed most of that darker blue, leaving traces of it behind for visual interest and tried a much lighter, transparent antique blue. This was a much more pleasing result.


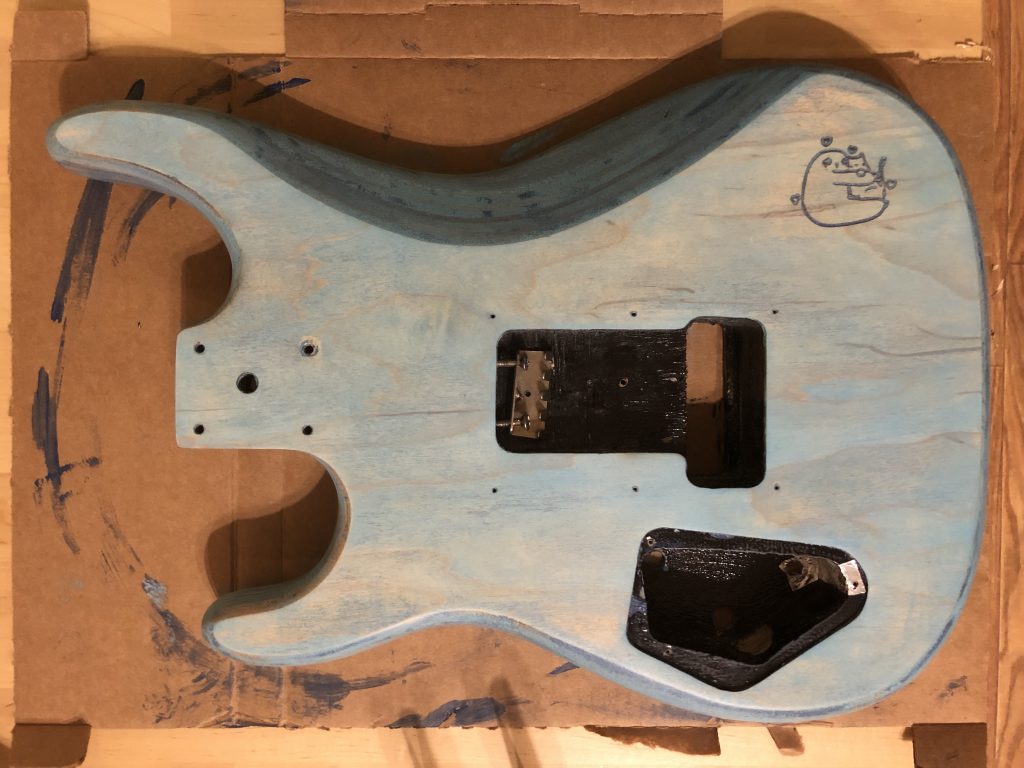

After settling the stain issue, it was time to apply the tung oil. I think we applied 9 coats of tung oil. It really started to get a nice soft shine after about 4-5 coats.


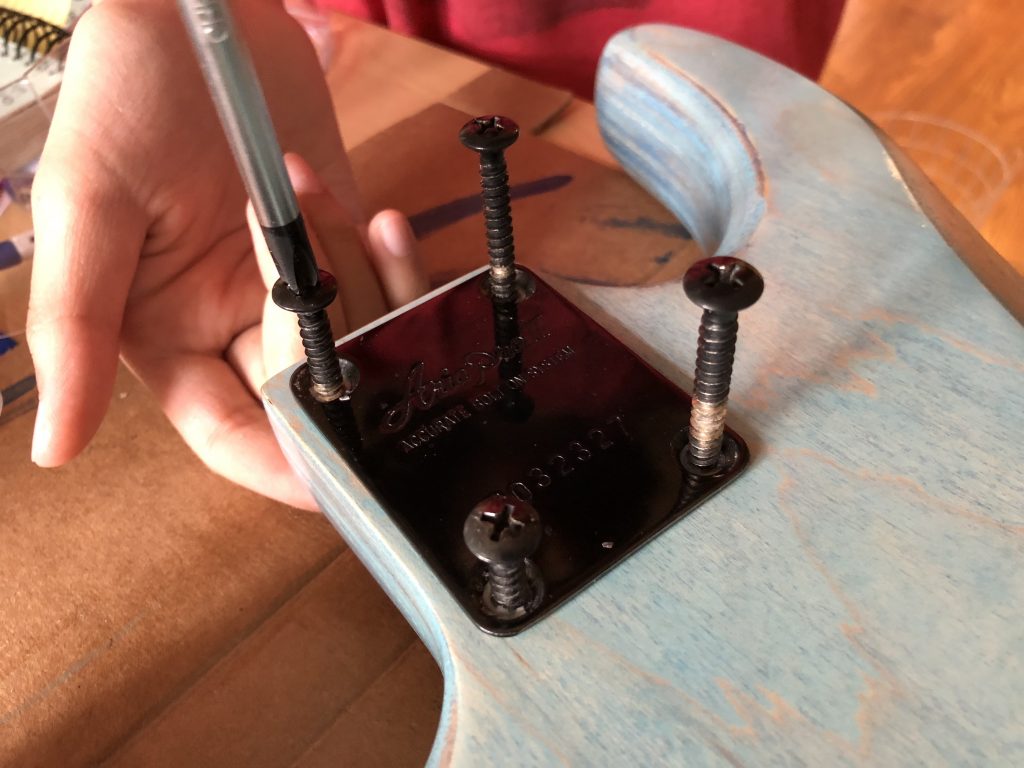
Step 6: Re-Assembly and Upgrades!
So, this was the hard part. Getting all that stuff put in place and working properly is always a challenge for me. I tend to get myself into trouble by not documenting things as I take them apart. I was careful to avoid that mistake this time.


I’m not the best with a soldering iron (working on it, though), but it appears that I got all the connections together correctly. The guitar makes sound and it sounds like a guitar. I consider that a win.
I took this opportunity to do a few upgrades. I wanted to improve a few things. Firstly, this guitar broke a lot of strings. Like a ridiculous amount. Long ago, I suspected that the poor quality nut and bridge saddles contributed to the problem. During disassembly, I happened to break the nut, so I needed to replace it anyway. So, I ordered a Graph Tech Tusq nut and a set of their String Saver saddles.


I also noticed that the tremolo springs ring while playing, so I replaced them with some noiseless springs that are wrapped in plastic of some kind. Lastly, I wanted to install locking tuners, but they are rather expensive. After some digging, I stumbled upon these Wilkinson locking tuners. They’re pretty ingenious, effective, and best of all, inexpensive.
How’s It Sound?
Unsurprisingly, it sounds pretty much the same as before. We didn’t end up changing the pickups yet. But for the curious, here’s what a late ’80s Korean low-cost guitar sounds like
What’s Next?
Well, we have a few pickups lying around that we might try out, but honestly, there’s not a lot more we want to change. The one thing I’d love to do is remove the tremolo system and replace it with a fixed bridge. But, due to the nature of the tremolo design, there isn’t a good way to make the conversion.